


Get Started
Learn about Jmix key concepts in a short video
Watch a 7-minute video about the key features of Jmix or simply install it right away following the instruction below.
Install Jmix
Step 1
Download
IntelliJ IDEA and install it.
Jmix works both in IntelliJ IDEA Community edition and IntelliJ IDEA Ultimate.
Step 2
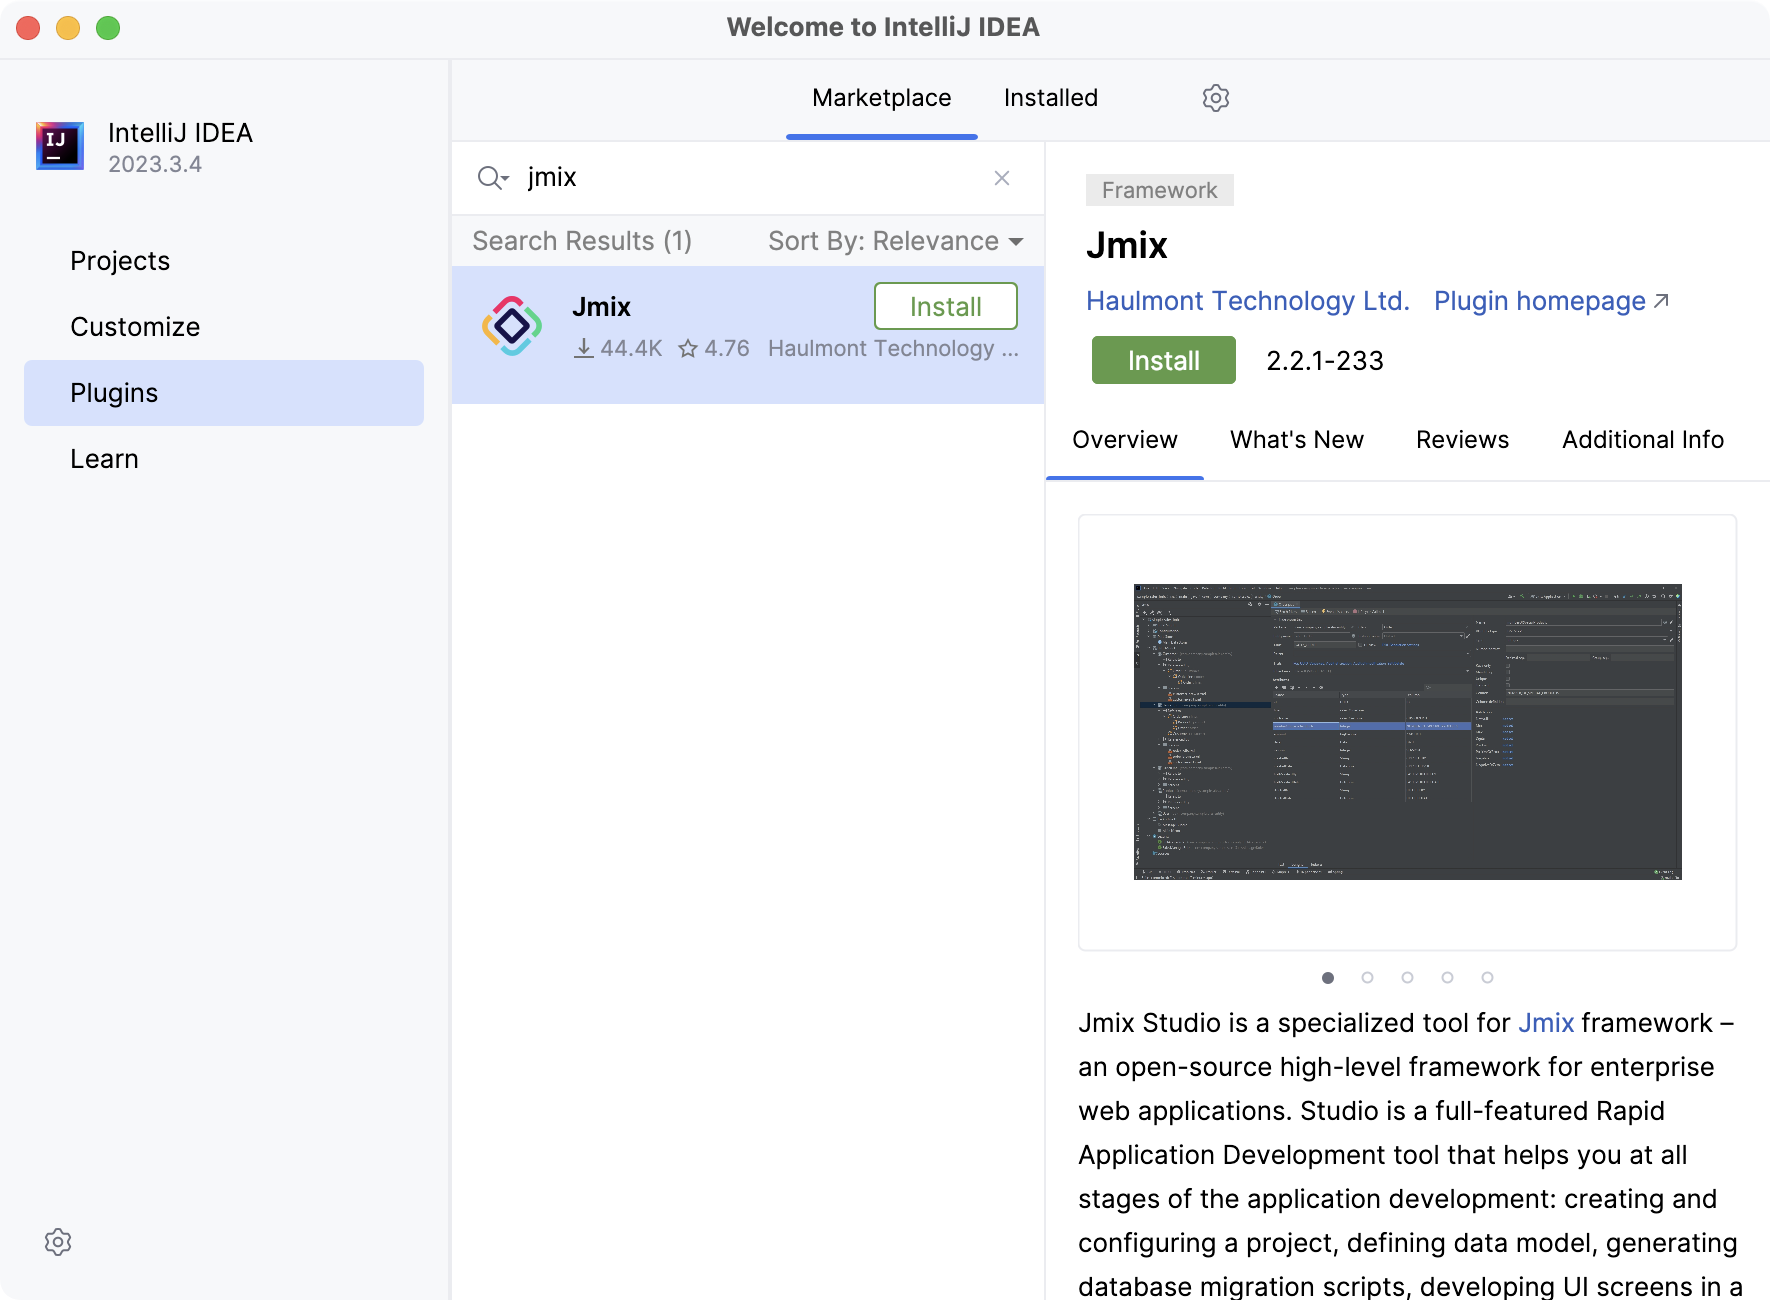
Run IntelliJ IDEA and install Jmix plugin into it.
- In "Welcome to IntelliJ IDEA" window, switch to the "Plugins" tab and enter "Jmix" in the search field.
- Find "Jmix" plugin and click "Install".
- Click "Restart IDE" and confirm.
Step 3
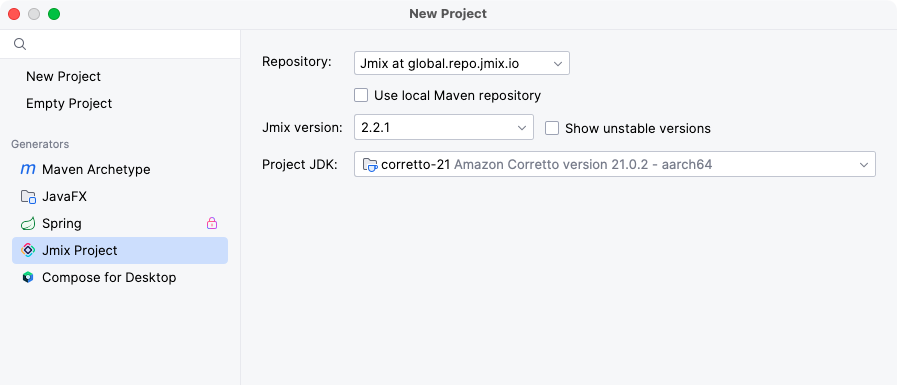
Create a new project.
Step 4 (Recommended)
Complete tutorial to cover all the Jmix essentials.